This piece is special to me, as it is a gift to a dear friend of mine. We started a business together called Scratch to Simple and you can find us on Instagram and Facebook! More on that later- My friend needed a place to stash all our goodies that are literally flying off the shelves. After looking at her space in her home and considering her decor, she gave me free range and had total faith in my abilities. Did it just get really hot in here, oh my the pressure!
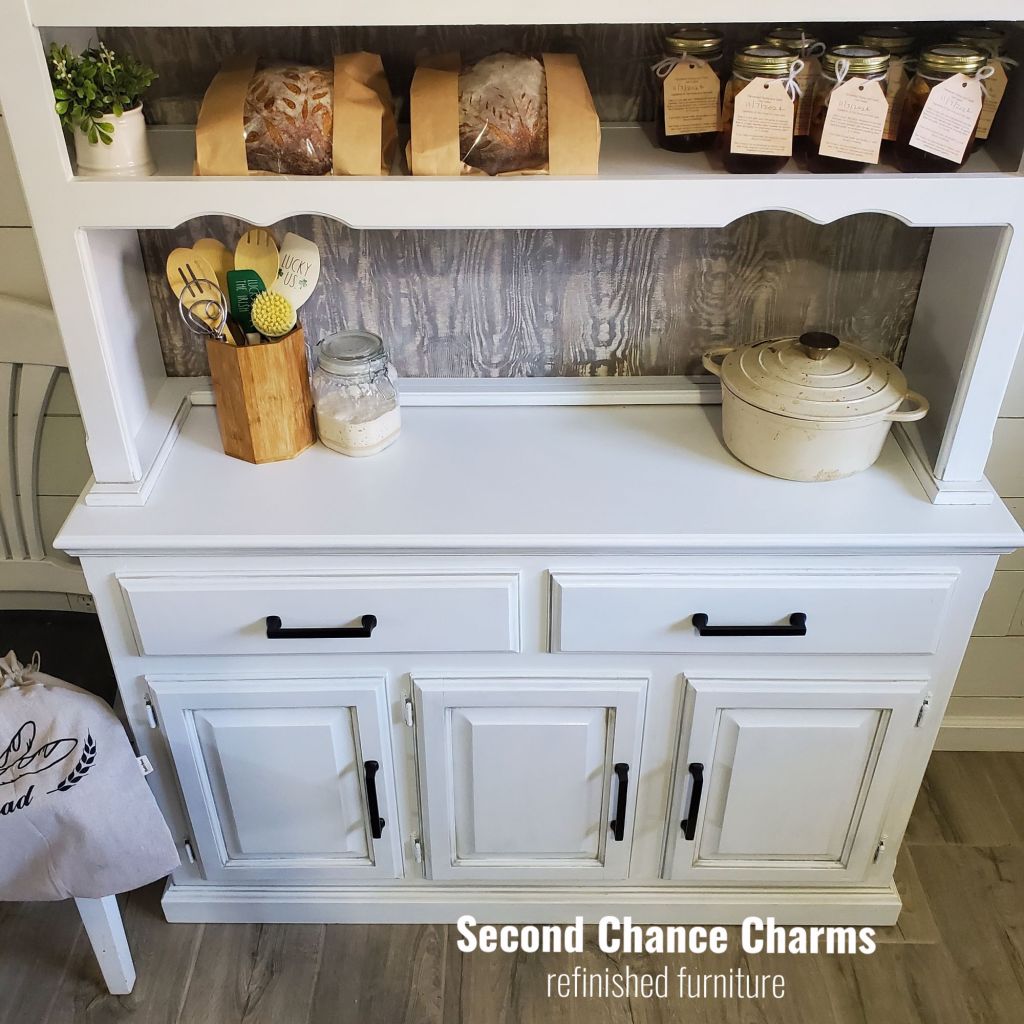
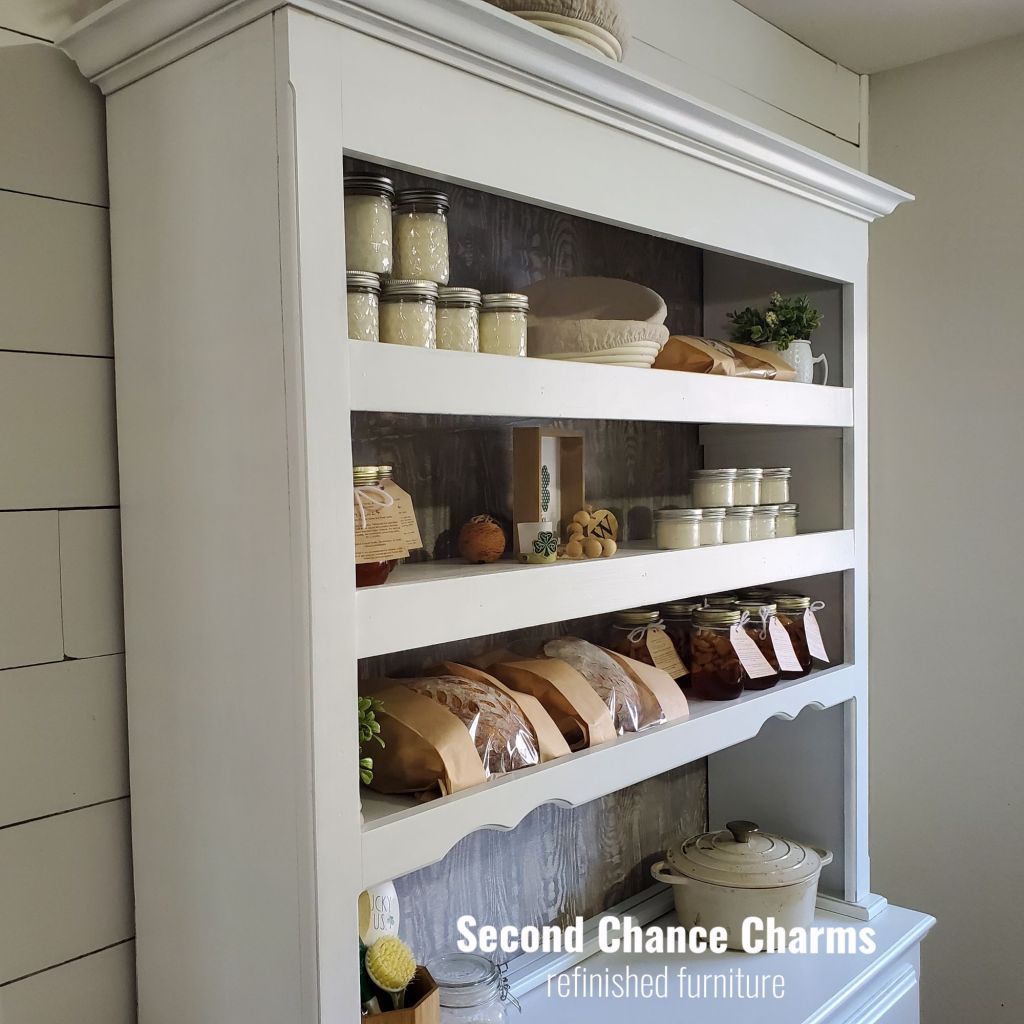
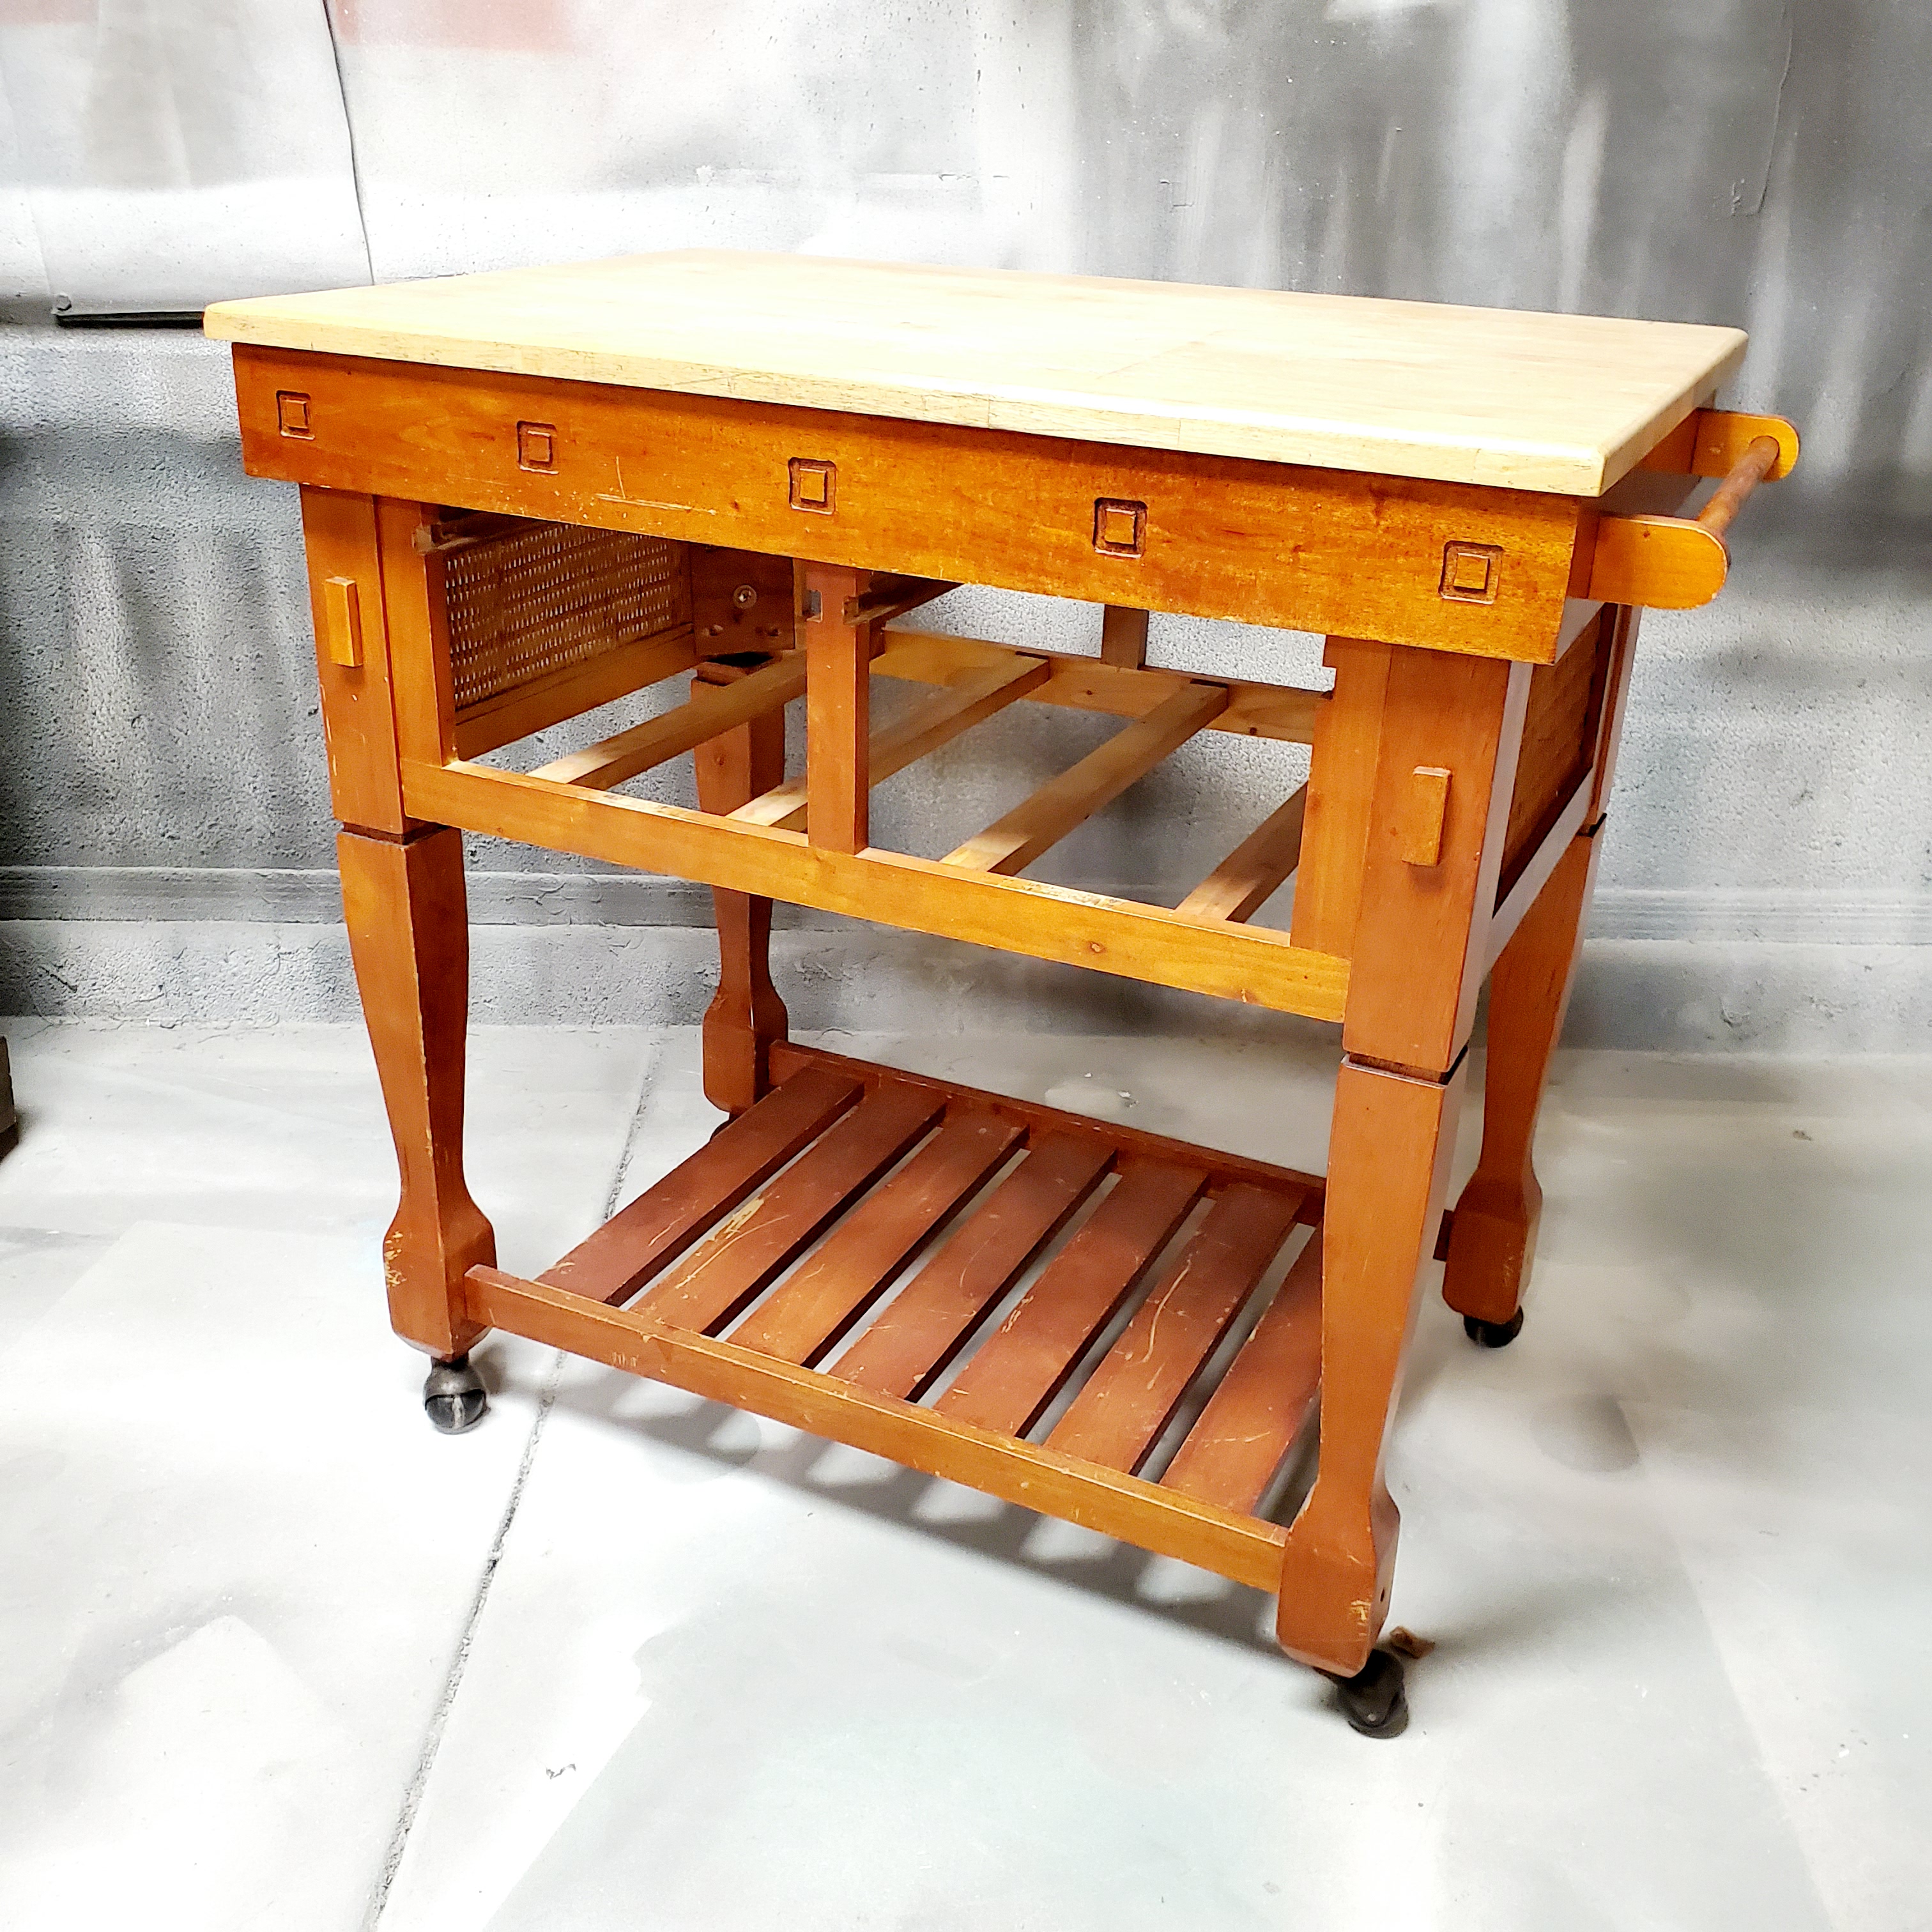
We found this piece on Market Place and while it was in need of an overhaul, that price was perfect. Got her for $40, and the bones alone on this gal were what drew my eyes to her with their vintage charm and potential for revival. Initially, I felt a wave of excitement as I envisioned what this hutch could become. The details etched into the wood whisper stories of its past, igniting my imagination and inspiring me to breathe new life into it. Removing the glass doors, the mirror backing, and the glass shelf was the first thing to be done, allowing me to see the hutch’s true form without the clutter of outdated features. Each piece I detached unveiled a surprising beauty, as if the hutch were shedding its old skin. Replacing the backing with solid wood and adding sturdy wood shelves not only enhances the integrity of the piece, but it also gives it a modern twist that fits perfectly with my design aesthetic, blending both old-world charm and contemporary style seamlessly. I added a shelf on the bottom of the hutch inside the unit for added usable space, cleverly allowing us to organize our products more efficiently and creating a neat, tidy appearance that will be satisfying to both the eye and the mind. This additional shelf proved invaluable, providing a designated area for my assorted items while maintaining the overall aesthetic of the piece. The transformation process was labor-intensive yet incredibly rewarding; I carefully considered every detail, ensuring that the final look would not only be functional but also visually appealing. I spent countless hours deliberating over the right colors that would evoke warmth and harmony, paying special attention to color choices and textures, wanting to create a hutch that would capture attention and evoke admiration. The hues I selected were inspired by nature, reminiscent of soft earth tones that would blend beautifully with the surrounding decor. With a fresh coat of paint and some decorative touches, including hardware that reflects both style and quality, this hutch became the perfect showcase for our creations, reflecting both my friend’s unique style and the spirit of our brand. In doing so, it embodies a perfect blend of elegance and practicality—an enchanting addition to our space that invites conversation and admiration from all who encounter it, demonstrating the true essence of a Scratch to Simple approach, where creativity meets functionality in delightful balance.
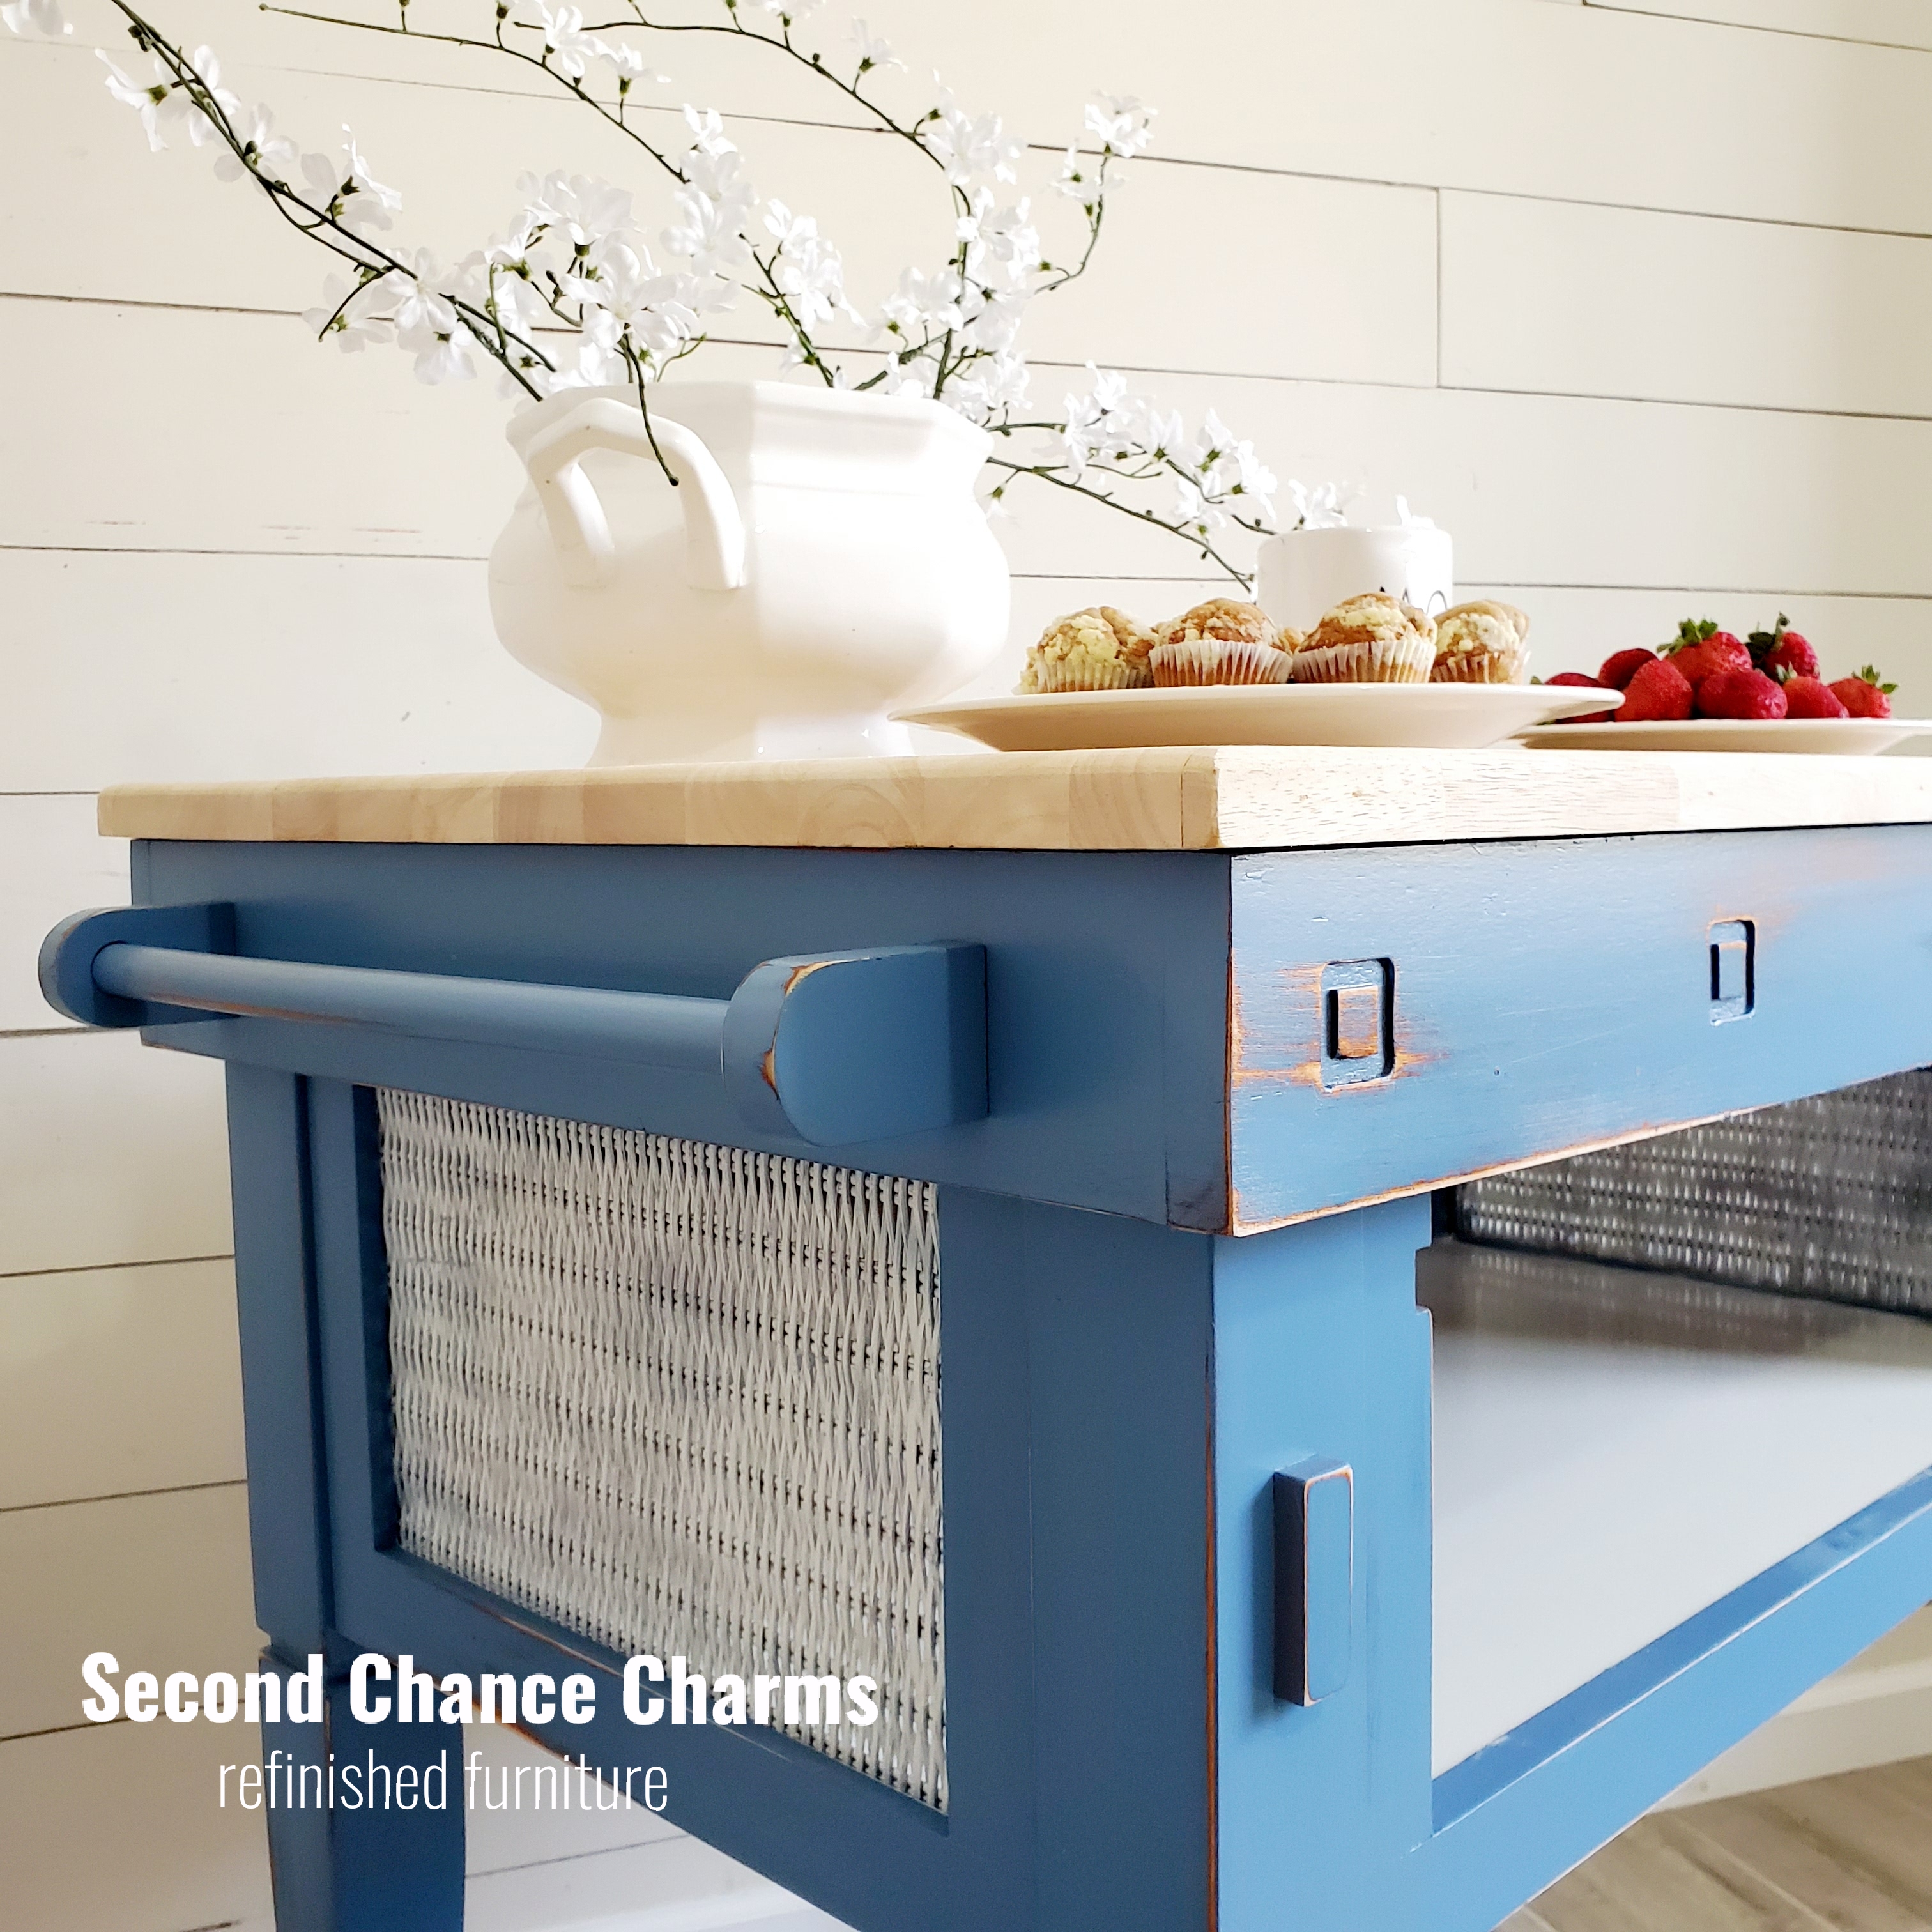
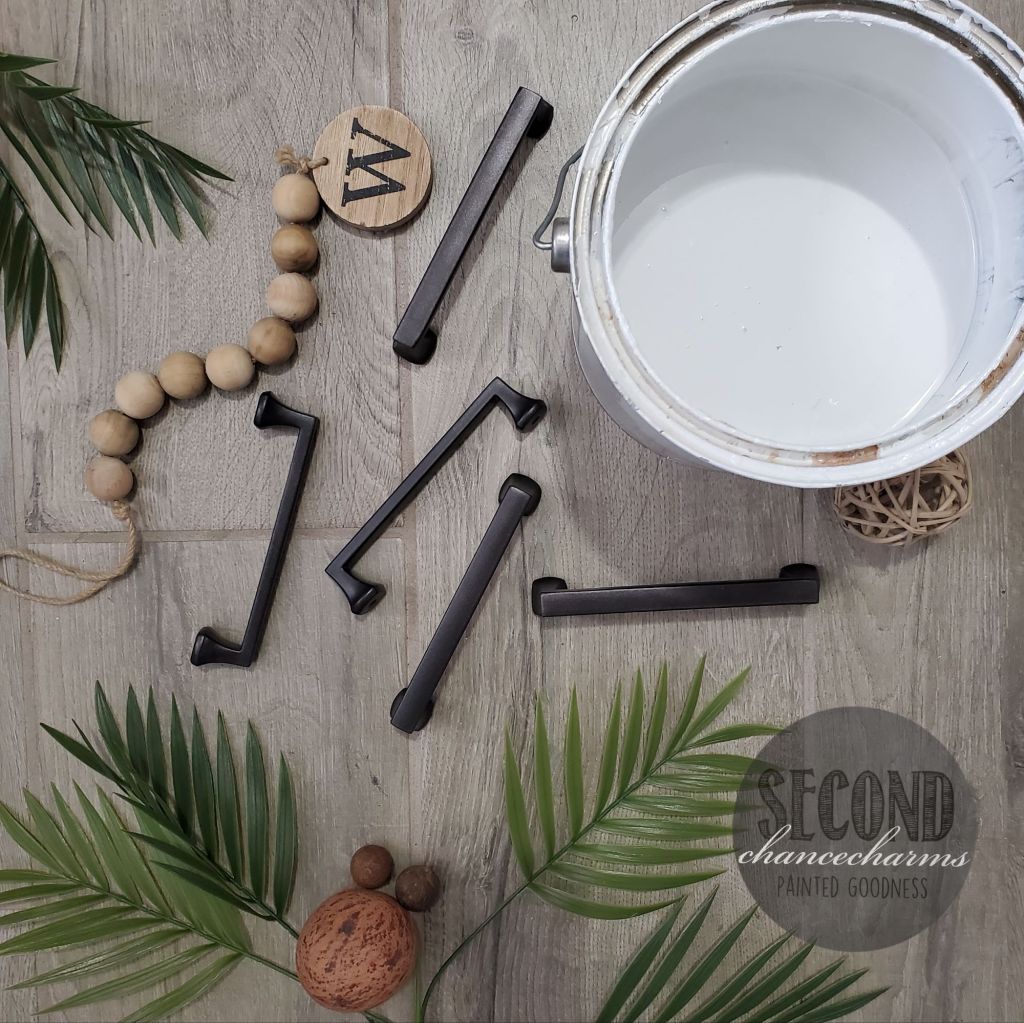
Refinished in Sherwin-Williams Hide Hide White and lightly glazed in Mindful Gray. The backing is a faux grain grey finish. New hardware pulls in a bronze finish.